Knit, whittle, glue, wrap, paint or sculpt to craft a homemade gift using found materials and things you already have on hand! There's a $10 limit if you need to supplement your craft supplies. Amy Sedaris will be back on December 3 to pick a winner! The deadline to enter is Tuesday, November 30, at 5:00 pm. Winners will receive an autographed copy of Amy Sedaris's new book Simple Times: Crafts for Poor People and a Leonard Lopate Show 25th anniversary tee-shirt!
My craft


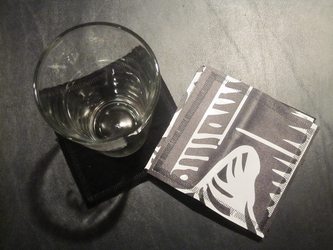
I made coasters using a plastic sign and leftover corduroy fabric. The sign is one of those big vinyl advertising signs I got free from Whole Foods. And I sewed corduroy on the other side to be absorbent.
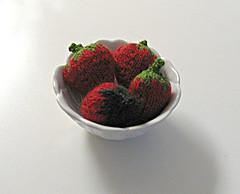
I like to knit fruits. I made these strawberries for a friend (I had to purchase the bowl) with leftover red yarn and small circular needles. I also have knitted apples and a lobster (all with leftover red yarn). I bought a bag of fiberfill stuffing years ago and still have some left. Don’t they look good enough to eat?
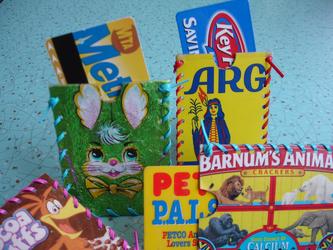
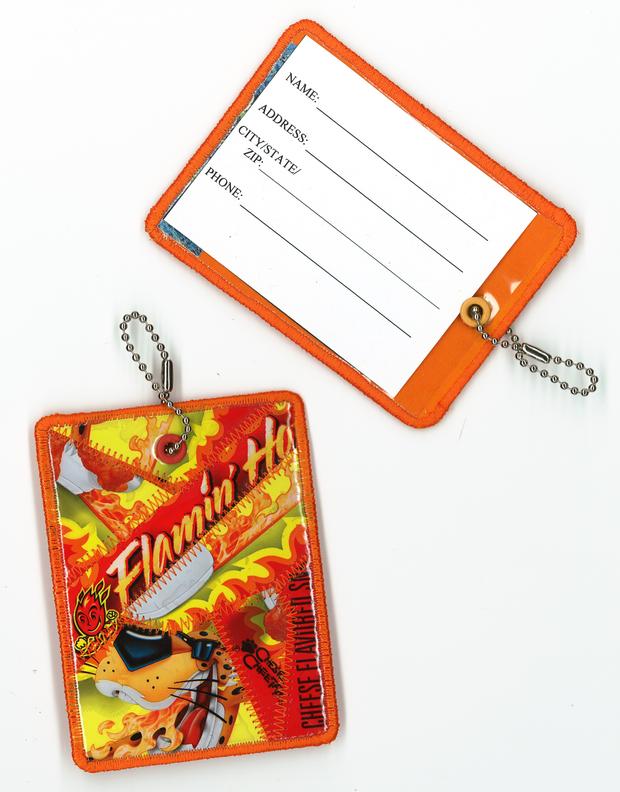
Our project is a Metro Card Cozy, (great for credit cards and business cards too!), made from recycled cardboard packaging. First we used a template to cut out 2 pieces of cardboard for the case, (Tony the Tiger, Coco Puffs, the lovely Land O' Lakes Lady, postcards from Dollywood, whatever suits your fancy!). Then we laminated the pieces with clear contact paper, hole punched the edges, and stitched them together using colorful plastic lacing, (also known as lanyard, gimp, and our personal favorite boondoggle!) Voila! You have yourself a cute and durable card cozy. This craft would be great as a stocking stuffer and came to a grand total of about 33 cents!
For the serious crafter only, here's a little how to:
1. Dig like a little badger through your recycling bin for some attractive cardboard packaging.
2. Make a template for the card cozy which is about 1/4" wider than a Metro Card on each side, and cut out a small semi circle at the top edge , (this makes it easier to get your card in and out). If you can, make the template out of clear plastic so you can see where it falls on the cardboard, (use a plastic sheet protector or a heavier plastic if you have it). No worries if you don’t have any plastic, just use some plain cardboard to make the template.
3. Choose what part of the cardboard package you like best, put the template in place, then trace and cut out your piece. You will do this step twice so you have 2 pieces total for the front and back.
4. Cut out 2 pieces of clear contact paper a little over twice the length of your template and about 1/2" wider. Coat each of your 2 card cozy pieces separately with the contact paper. The easiest way to do this is to lay your cardboard piece face down on top of the contact paper (sticky side up), with the bottom edge of the cardboard just above the bottom edge of the contact paper. Then wrap the contact paper over the top edge and coat the back of your cardboard piece. Trim away the excess including the semi-circle on the top edge.
5. Use an 1/8" hole punch to make holes along the 2 sides and bottom of your card holder pieces. The holes should be just in from the edge and about 1/4" apart from each other. It's hard to do both pieces at once, so the easiest thing to do is complete one piece, then paper clip your pieces together (finished side on top), and use the top side as a guide to punch through to your bottom piece. This ensures that your holes line up.
6. Finally, Attach your 2 pieces together with plastic lacing. Start with a knot at the top corner, then lace around the edges, ending with a knot at the end. Finito!
submitted by: Brooklyn Craft Farm
www.brooklyncraftfarm.com
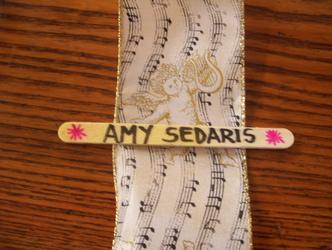
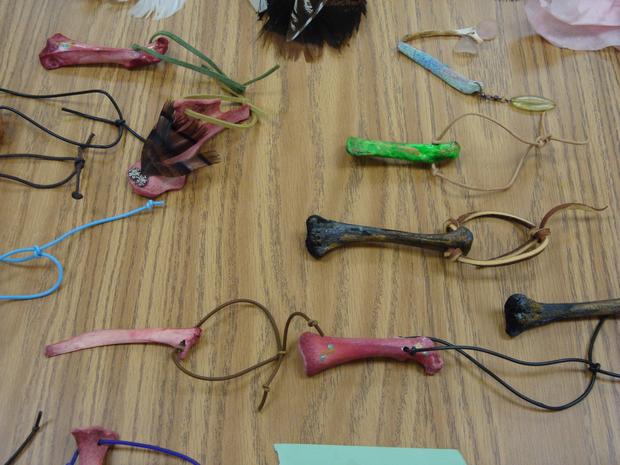
This is a nametag popsicle stick that I had laying around, (a banana flavored popsicle with the yellow dye still on it that resembles a pee stain to be exact) that is now a nametag for those holiday party's and get together's where you might be an unknown. It has an ordinary safety pin glued to the back. However, you could use velcro or double sided sticky tape. All of this for under 50 cents.
I love Amy Sedaris and her sense of humor. I hope she finds this crafty thing a ma-jig mildly amusing, at best and giggles at the sight of it.

Made this train for our grandson with stuff we had in my workshop and in our attic. Only thing we had to buy was one dowel for the axles. He played with it for hours on end. It was exciting to make it and create different parts for the train.

We made this train for our grandson. Used stuff I had in my workshop and in our attic. Only thing we had to buy was a dowel to make the axles. Our grandson loved it and played with for hours on end.
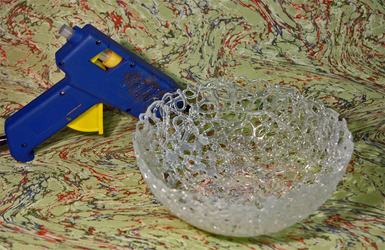
This is a bowl made out of hot glue. I just squeezed a bunch of hot glue into a metal bowl in a swirling pattern and then ran cold water over it to cool it quickly and to help it release (from the bowl). Pop it out, and voila! You have a really nice place to put your keys, or scrunchies, or lollipops. If I were to spend $10, I would buy some colored hot glue (yes, the internet says it exists) and make some really psychedelic ones.
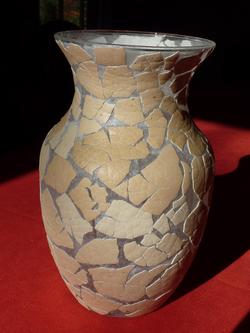
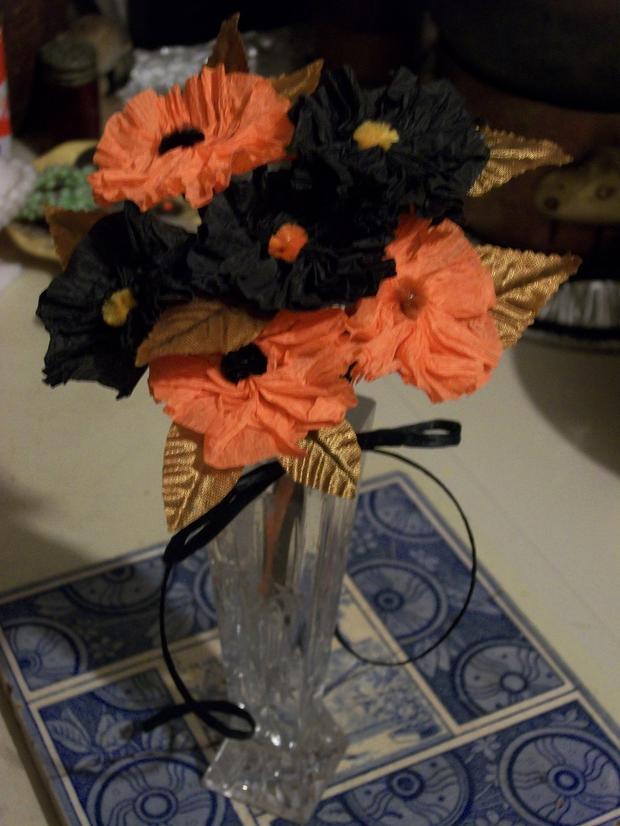
Transform an inexpensive glass vase into a one-of-a-kind vase that mimics ancient jar.
Materials: glass jar, tissue paper, acrylic medium and egg shells.
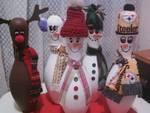
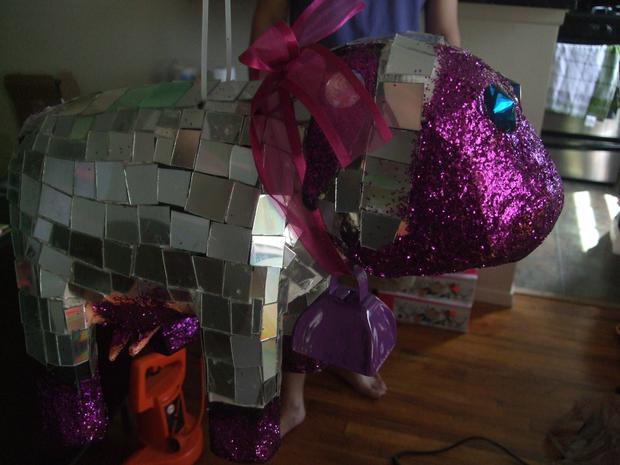
These are old bowling pins that my daughter had in the garage that she painted and covered with scraps of this and that she had laying around...Nothing fancy, but a whole lot of creativity was involved. They are part of Santa's Secret Workshop at her son's school so the poor kids who do not have a lot money can buy them as presents for their family.
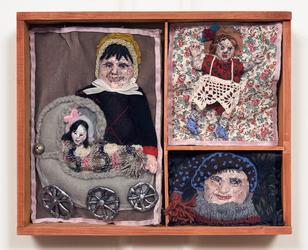
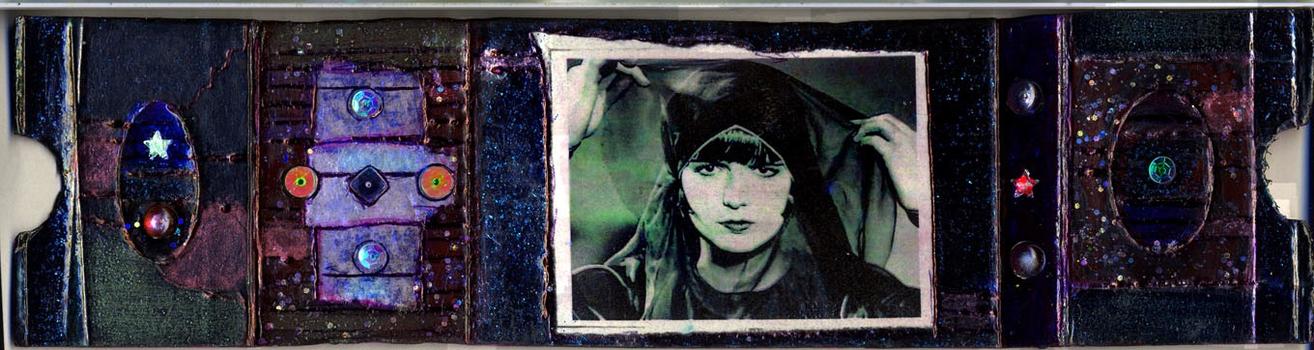
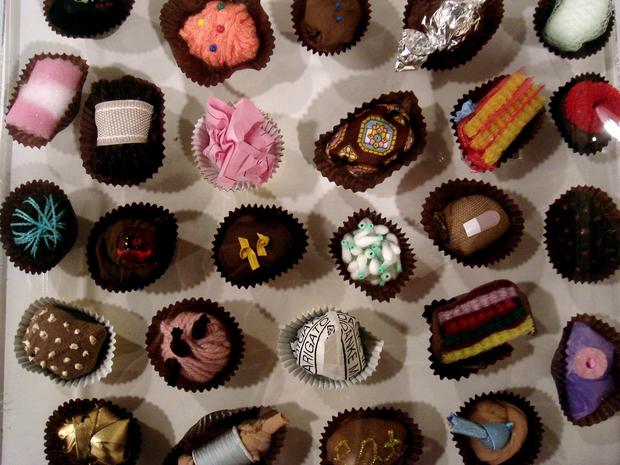
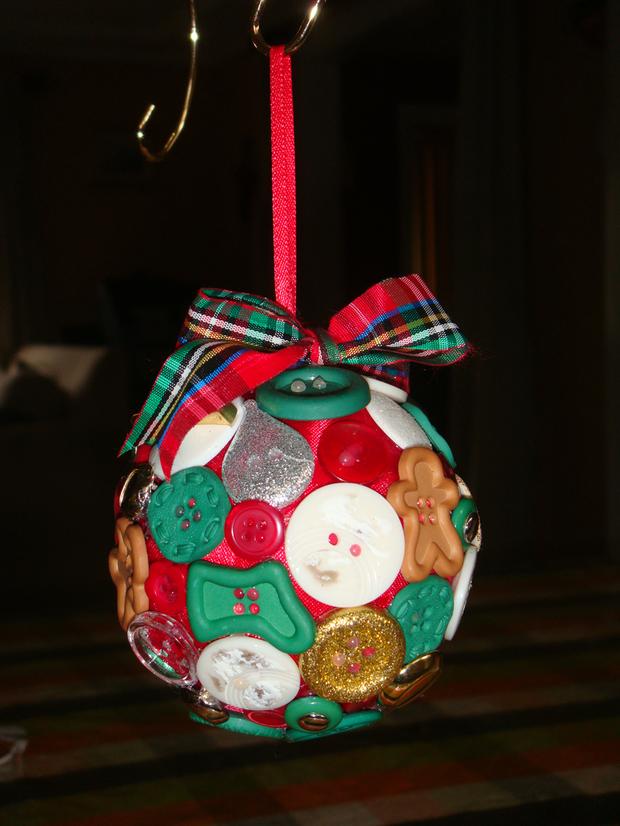
This 12"x14"box is a present for my husband. The images are based on fading photos from an old album. The box had been used to hold small wooden toys. I had all the materials -- scraps of fabric, wool, clay, buttons, paint and glue -- on hand for crafts projects.
Amy Pollack
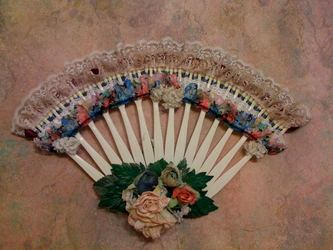
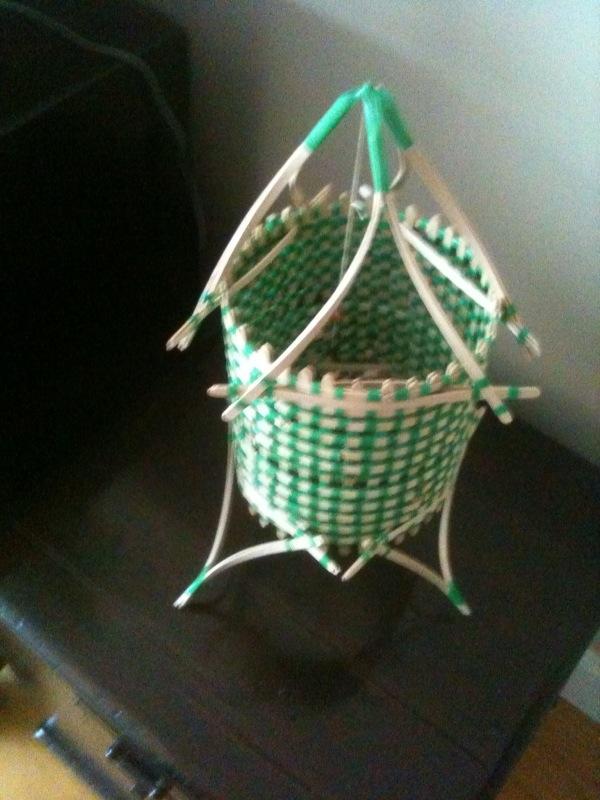
This is a craft that has been in my family for generations. My grandmother taught me how to make this Victorian-era inspired fork fan from re-used plastic forks from Wendy's (they are the most durable), leftover lace trim and silk flowers from the local dollar store. The ribbon is woven between the tines of the forks, and the bottoms are held together with hot-glue. While this fan will not create much of a breeze, it makes a lovely addition to any room's decor.

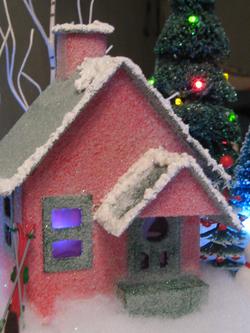
Glitter House
--------------
Created from recyled pasta, tissue or cereal boxes.
Celofane from recycled mail envelopes.
On hand; xacto knife or sissors, glue,
paint & glitter.
Holiday Joy !!
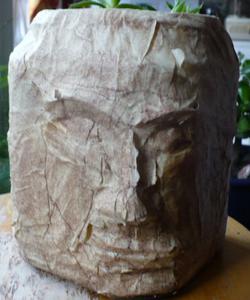
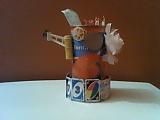
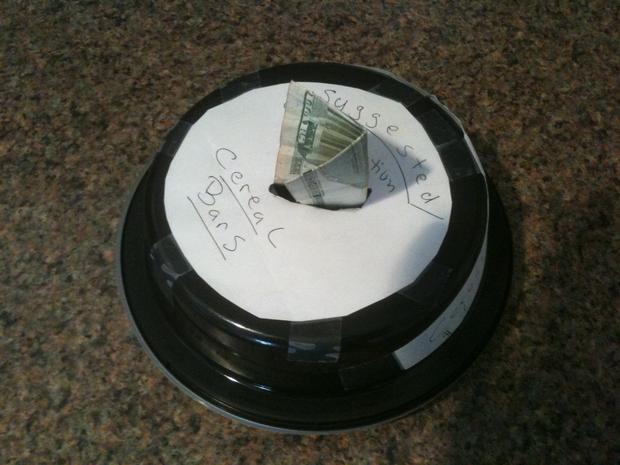
This is a planter made with a plastic coffee can, making tape and shoe polish.
It looks exactly like my husband who made it.
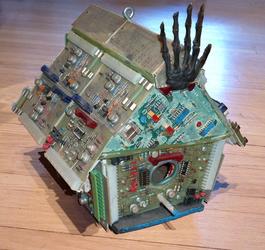
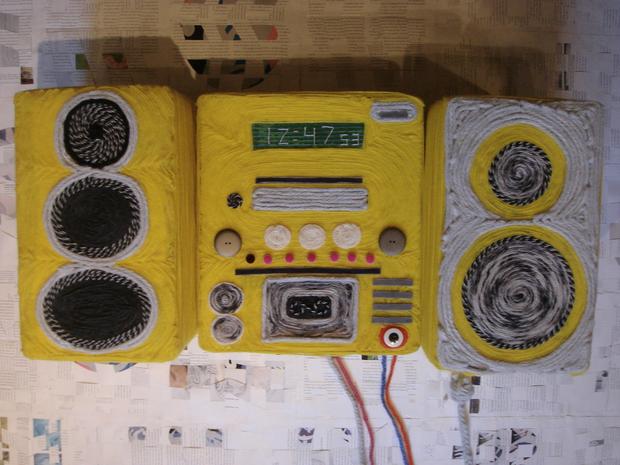
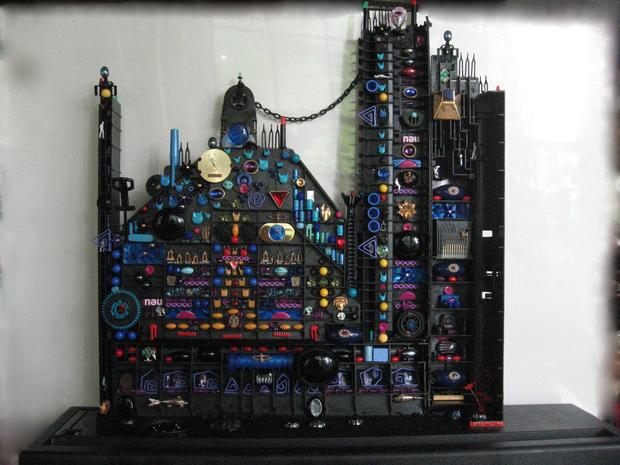
I use to create works of art with computer boards, also crafts such as clip boards, clocks and loved using the older ones with resisters. I got them from taking apart old computers, radios, key boards and musical instruments. I took these and built a bird house. Total cost of glue and rivets perhaps $3.
I use to sell lots of these items at Exit Art in the city downtown. But also would give them as gifts. Paul Leibow
201-944-2634 www.leibowart.com
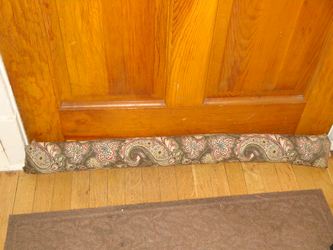
This is my "Draft Dodger" that my kids and I made for their teachers' holiday gifts. It's a long pine needle-filled fabric tube to put along the bottom of an entry door to keep the cold drafts out.
We used leftover fabric we had on-hand, and we swept up and gathered bags of Balsam pine needles from our old tree & wreaths, and from area Christmas-tree stands. We got a lot of strange looks, but folks were mostly happy to let us sweep up the dropped needles!
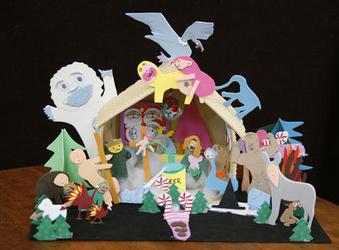
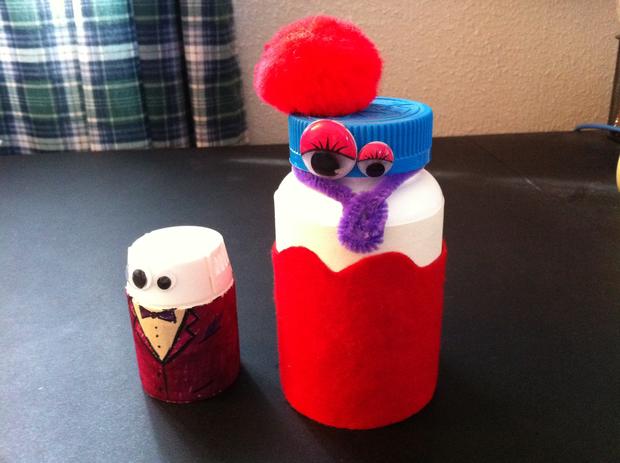
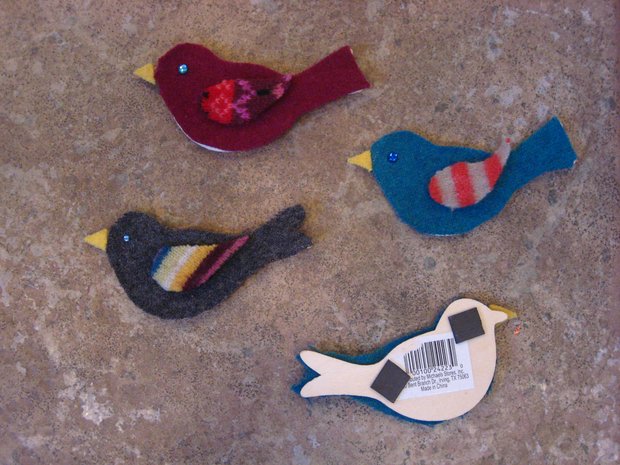
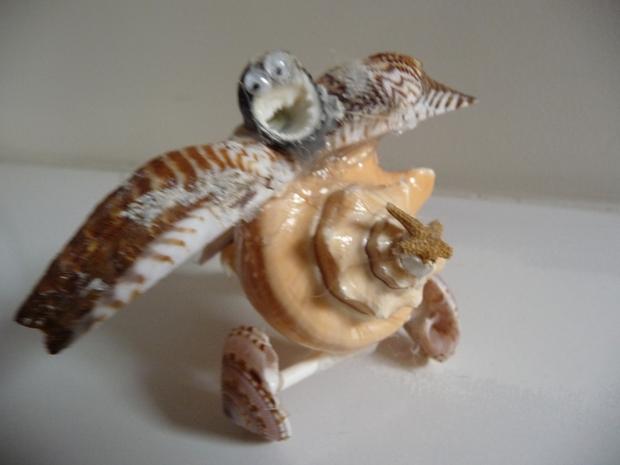
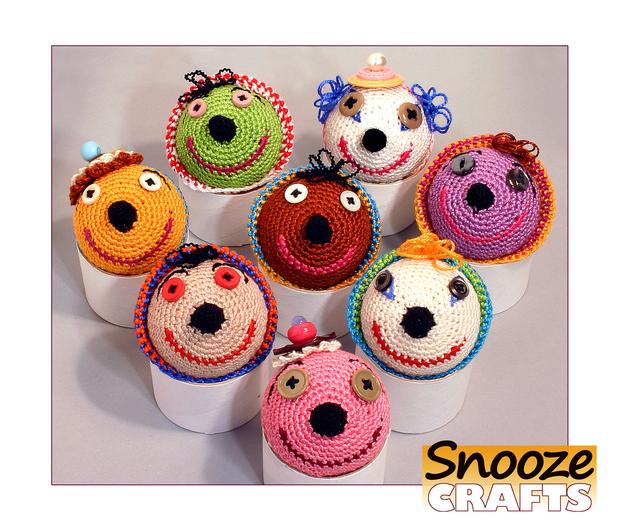
This lovely creation was conceived by The Ladies' Auxiliary. Our collective loves to bastardize crafts kits by altering the theme, reassigning the parts, and adding our own handcrafted cast of characters. The materials include foam, glue, scissors, and beverages.
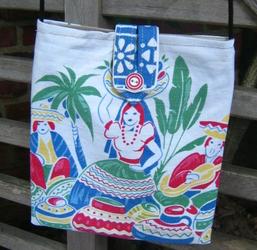
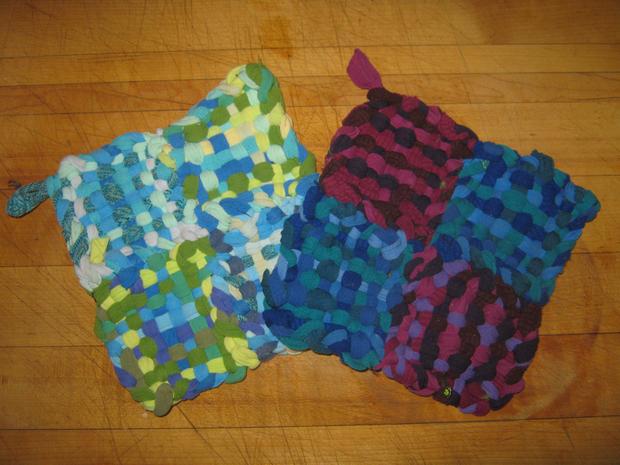
I have some old tea towels that were my mom's. I make them into small purses. cost: zero. I line with fabric given to me by a friend who "rescues" cast offs headed to the landfill from a factory that makes indoor-outdoor furniture. cost: zero. I use a button for closure. Cost: zero, as friends give me buttons and I have a stash from mom. Macrame cording serves as the strap. A little over a yard per bag at 20¢ a yard. Thread on hand. cost zero. SO cost per bag is about 30¢ If I buy a vintage tea towel, then the cost is up to a max. of $4.30
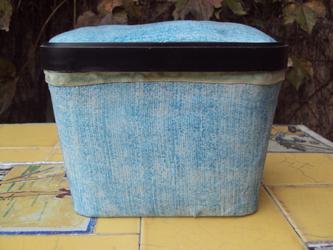
Ice cream sewing box with pincushion top
From an empty ice cream container I lined the inside, outside, & bottom with a fabric from a building site the contractors discarded.
Since the top of this container had a cardboard lid with a plastic moulding I lined the top of the paper lid with cotton balls and stretched the same fabric over it capturing the ends with the plastic trim. This created the pincushion top.
I added a silk ribbon just below the lip of the container purely for decorative effect.
Everything was secured to the container with glue.
Materials & cost:
Recycled: CLEAN ice cream container $0
Found building material: fabric insulation $0
Had for years: Silk velvet ribbon $0
Other: Glue $3; cotton balls $2
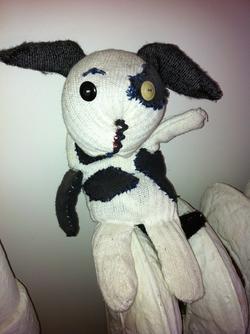
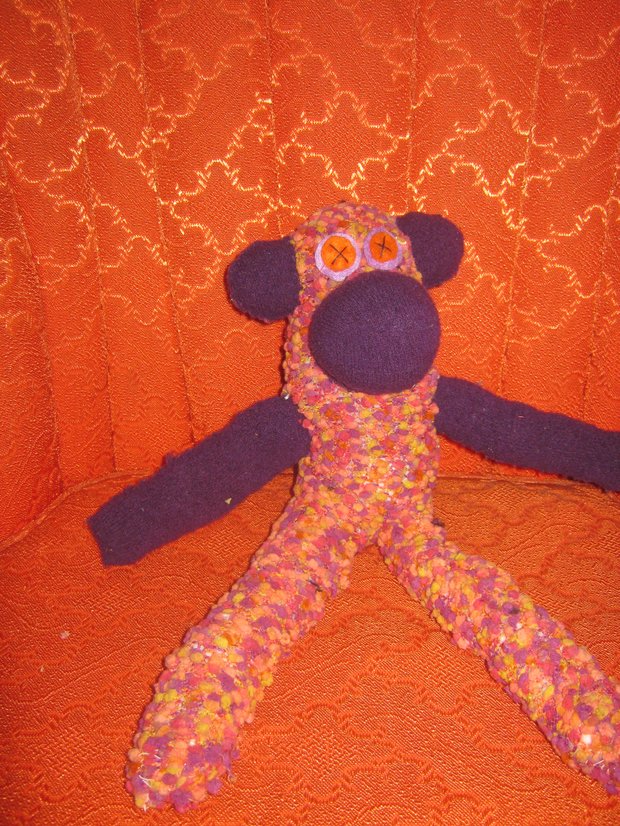
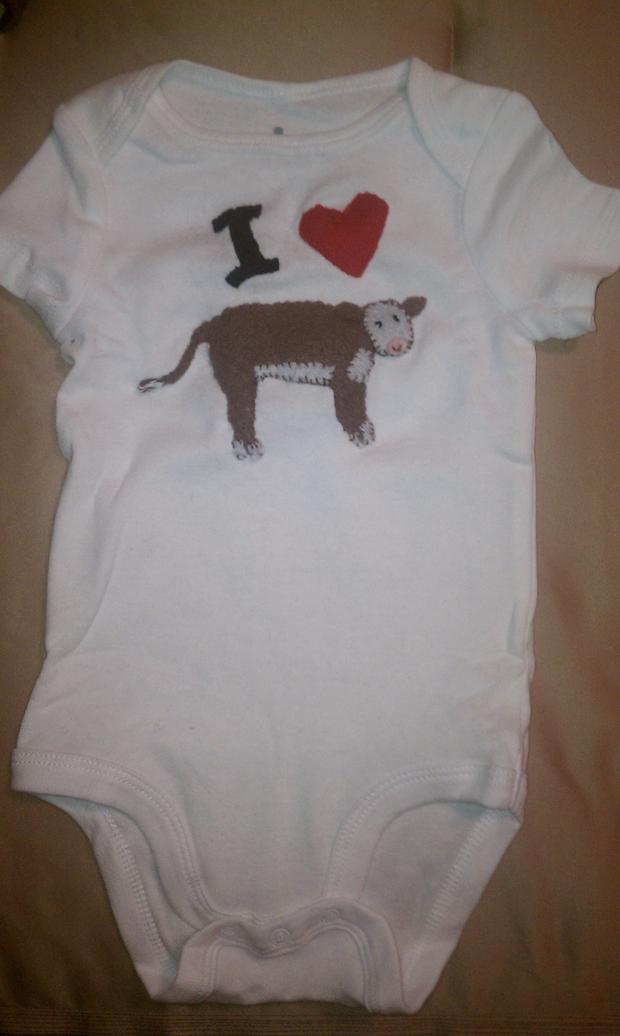
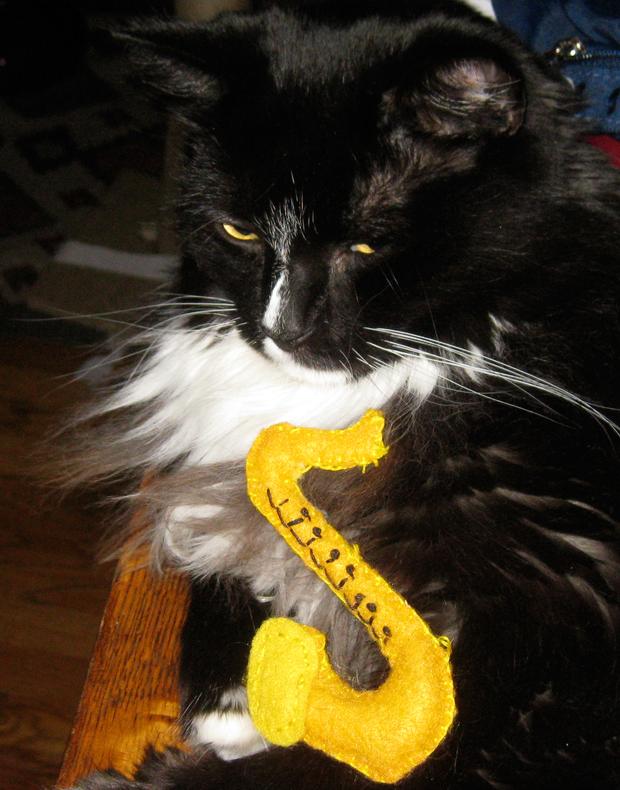
This is a "heavy" story. A friend in Maine had gone blind from a brain tumor and did not have long to live. She had an old beloved dog named Tula. I thought I would make a sock puppet dog, rub it on Tula, then give it to my friend to keep at her side, sleep with, smell, etc. It wasn't all that practical, but clearly I was planning this for me, to give me something to do in this helpless, hopeless situation. So, I got a sock and a couple of buttons from her sewing box and a piece of rick rack from the old days.
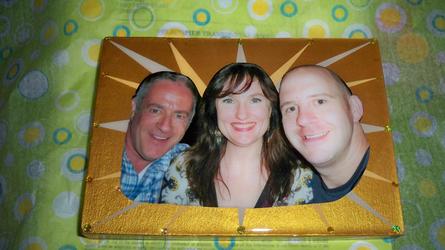
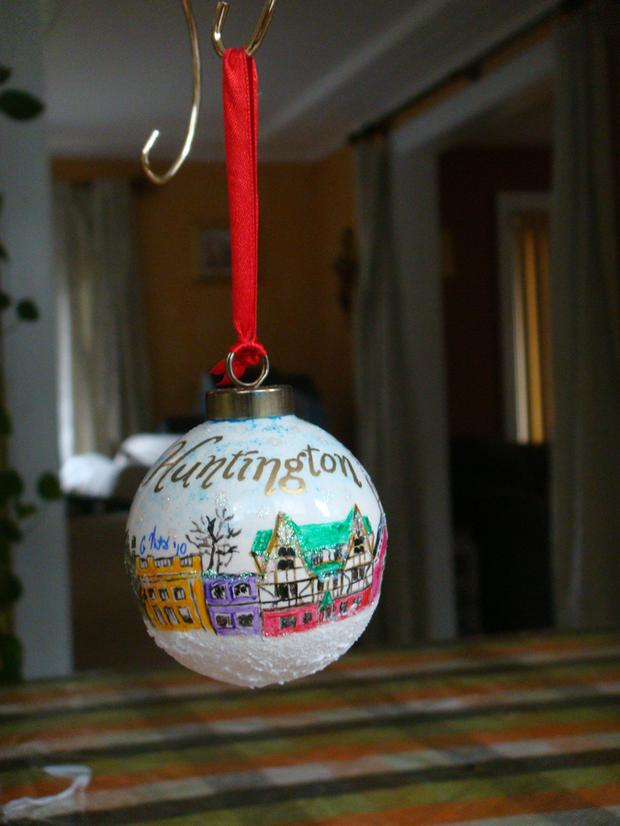
1 piece of poplar wood - approx 5x7 sanded & painted.
1 4x6 photo cut to whatever dimension you want - that will fit on the painted piece of wood.
bedazzled jewels or whatever junk you want to ornament the thing with.
cover with Enviro Tex hardening shallac. Best stuff ever! Allow about 12-24 hours to harden.
Add a hook on back of 'frame' and VOILA!
you have a FOREVER FRAME because that picture ain't goin' nowhere and the recipient will have it forever with no chance of swapping out the photo.
It's cheap - it's fun - and the recipient will always love it (no choice in the matter - after all, it's their face).
Leave a Comment
Email addresses are required but never displayed.